Meet the maker: Laufen
We take you behind the scenes at Swiss powerhouse Laufen and give you a step-by-step breakdown of how it produces the finest porcelain sanitaryware.

Step 1 - Sourcing
The same raw materials have been used to produce high-quality porcelain from primeval times to the present day. All it takes is kaolin, clay, feldspar and quartz.
Step 2 - Mixing
A brownish-grey mixture, known as ‘the mass’, is formed when the raw materials are mixed with water, according to precise formulae. Processing the mass for sanitaryware can be compared with preparing bread or cake dough; in both cases, success depends on the correct procedure as well as the dosage and mixture of ingredients.
Step 3 - Moulding
A different mould is used to cast each product from the mass. For a washbasin, such a mould is quite simple, but for a WC, with its complex interior, the construction of the mould is a complex and laborious process. To produce the moulds, a so-called mother mould is first made in the studio. It takes a great deal of experience to create mother moulds as there can be shrinkage when the mould is fired. Once a new model has been cast and fired, it is examined and analysed inside and out with the greatest precision. Any deviation from the design is noted and experienced mould-makers then painstakingly adapt the mother mould by hand.


Step 4 - Re-mixing
The additional ingredients are then added to the mixture which is sieved and magnetised. The mixture is kept moving in large tanks until it is cast, with the whole process taking around 20 hours to complete.
Step 5 - Drying
As soon as articles are taken from their moulds, they are finished by hand – before they’re even dry. Every piece is carefully smoothed to remove rough edges and apertures such as overflows are also recut and smoothed. Only once every item has been hand-finished will it be placed carefully on the conveying system to dry.
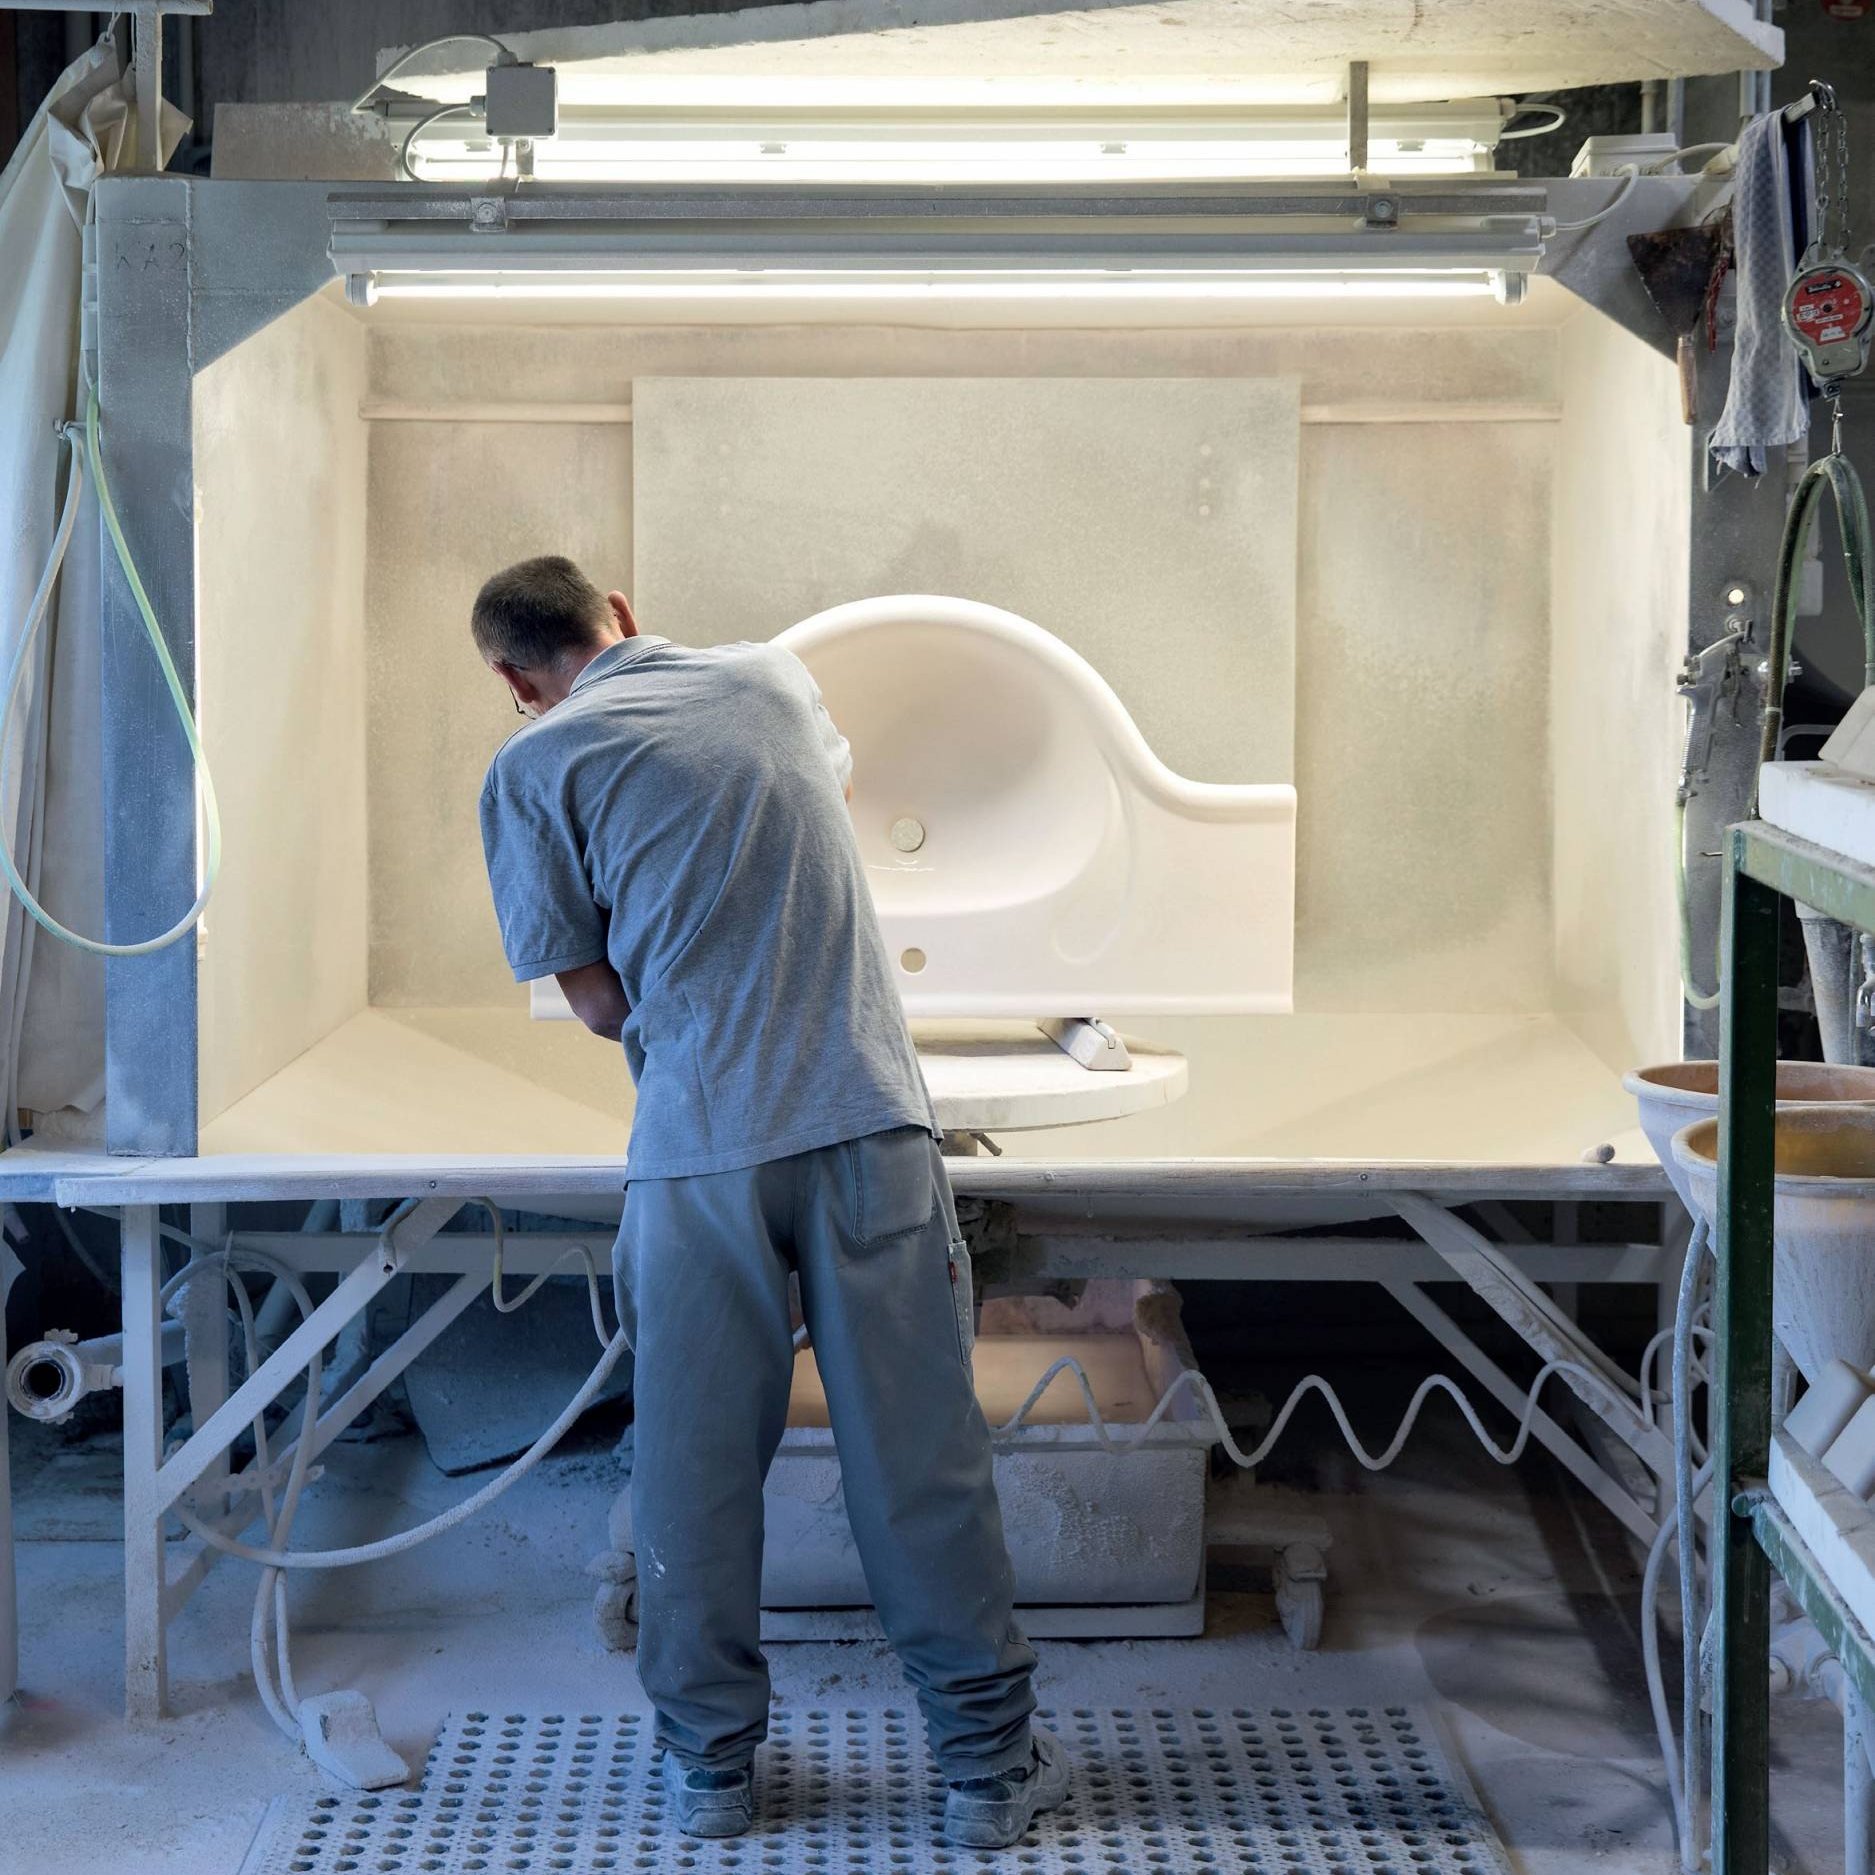
Step 6 - Glazing
Glaze embellishes the surface of ceramic products, forming a glass-like layer which makes porcelain even more hygienic. Complex or very large items are glazed by hand, as are small batches in unusual colours or of rare models. This intensive manual work requires experience as the glaze coat applied must be consistently between 0.6 and 0.8 millimetres thick. The glaze is then fired to ensure it’s completely smooth.

Step 7 - Firing
Once glazed, items can be sent to the kiln – an imposing tunnel that is over 100 metres long. The kiln reaches temperatures of up to 1250 degrees celsius and after a journey of around 20 hours, the porcelain becomes hard, robust and ready for use. The fired items then roll through a cooling zone in which their temperature slowly falls. Incorrectly cast pieces are eliminated and returned to the processing cycle, to keep manufacturing as sustainable as possible. Even items that have already been glazed and fired, but which do not meet quality standards, will not end up on a disposal site, but are finely ground to create a “ceramic powder” and added to the compounds used for new products.
Step 8 - Examining
After the fully automated firing process, human eyes and hands are required for control and final assembly. Every single item is thoroughly examined by hand and verified to make sure it is perfect in every way. This final check brings an end to the item’s 7-day journey, from raw material to finished product.

For advice, tips and tricks from our team of specialist bathroom designers, download or request a copy of our Style Guide.

For more articles like this one, click below to read another one of our Meet the maker series.